Image Map

~previously American Girl Imagination

~previously American Girl Imagination~
Showing posts with label DIY. Show all posts

Saturday, December 14, 2013

American Girl Graham cracker Gingerbread Houses, a Guide


Today I've got something that's tons of fun to make, and has been a family tradition in our family.. for two whole years! I do it with my brothers, but it's just the right size to make for your dolls. The perfect addition to your dolly decor, Grahamcracker Houses! These are so versatile, I'm not even calling this a tutorial. It's a guide.
and yes, it's edible! No cardboard and glue here folks! Only different forms of sugar ;)
 
Here's what you'll need: 
  • Grahamcrackers  (I accidentally bought the square kind, buy the rectangle kind is just fine too) (you could also go all out and buy gingerbread flavored gram crackers :O )
  • Icing (Royal icing is the kind that is traditionally used in Gingerbread houses, but I found it too sugary, so I just used cream cheese that we had in the fridge. Get your favorite and go with it!) 
  • A plastic baggy 
  • A paper or tin plate
  • Candys! (pull out all that Halloween candy and go crazy! Chocolate chips, smarties, pez, candy canes,  M&M's, Nerds, Skittles... use your imagination! :oD )
  • optional: Cereal (depending on what you've got, you could use cereal to decorate. Life brand cereal would make a cool roof, etc. Again, use your imagination.)
Cut the corner off of your baggy. Make sure that it is realtivly small, like the bag on top, and not big, like the bottom bag.
Spoon some icing into the bag, and give it a squeeze into the corner. This is your piping bag!


If you have square kind, you'll need eight of them, with some extra for backup. The rectangle kind only need six, to for the sides, two for the front, and two for the roof.

 
To cut your gram crackers, use a serrated knife and make a line on the cracker, and "saw" it. I held up the cracker to the rest of the house.   

And here's how you put it together....

 Afterwards comes the fun part-- decorating! You could do anything you like. Plaster the roof with icing and cover with cereal, candy, chocolate, whatever! I iced on shingles, basically little fish scales, starting from the top.
 Add on a few necessary things, such as a door, windows, or a wreath... (don't forget about the back! you can just have windows on the sides. ;D )
 And you're done! Time flys when you're having fun... added icing around the base of mine, and even icicles

Don't you just wanna shrink yourself comfy inside next to a roaring fire... and then eat your house?! Yeah.
Maybe just the chocolate... <3

That's all for now folks! I've got several things I'd like to post, along with a stop motion I made late summertime, the beginning of a Christmas themed photo story, and bunches upon bunches of photos form photo shoots! I've done like, three or more, and I took one of Mia outside in the snow today. You can them later on my flickr, and I post frequently on Instagram 

(disclaimer: I'm being serious when I say this, don't eat the whole thing at once! My brothers made houses of their own, and ate only one wall each... and lets just say that were NOT pleasant to be around for the rest of the night. Be careful when consuming these massive amounts of sugar!!)


Saturday, June 8, 2013

How to Make Easy Peasy Doll Marshmellows

All you need is some sticks from the backyard, a few cotton balls, and a hot glue gun!
 First, take your cotton ball and un roll it. What you say? Cotton balls can be un-rolled?! you say? Yes, they can.
Cut off the ends, or the part that looks fuzzy and ugly.
Next, apply some hot glue on your stick. (Warning!! HOT GLUE IS HOT!)
Carefully, begin re-rolling the cotton ball on the stick. That thin layer of cotton that is between you and molting hot glue is not going to protect you. You've been warned. ;)
While rolling, apply more glue on the cotton ball every now and then, until it is rolled all the way up. Make sure to apply some at the end.
Spin the stick around in your hand, and trim the edges or it, that way it looks more realistic. 

Enjoy your marshmellows!! :D
Jeneca 

Tuesday, May 28, 2013

10 Camp Themed Crafts for AG dolls!

Hiya! It's Jeneca. Camp season is just around the corner... whether it's a backyard camp-in-a-tent, or you're participating in Camp Doll Diaries, I made a nice list of things to make for your doll, that way she can pack them up for camp! (or, for you to MAKE the camp she'll be going to, hehe :) )
**NONE OF THESE ARE MINE, I AM SIMPLY LINKING YOU TO THEM! CREDIT GOES TO THOSE WHO I LINKED.**

1. My Froggy Stuff: Tent (re size for AG)

2. My Froggy Stuff: Doll Sleeping Bag

3. My Froggy Stuff: Lantern (and gum ball machine)


4. My Froggy Stuff: Fishing Pole (re size for AG)


5. My Froggy Stuff: Boat (re size for AG)

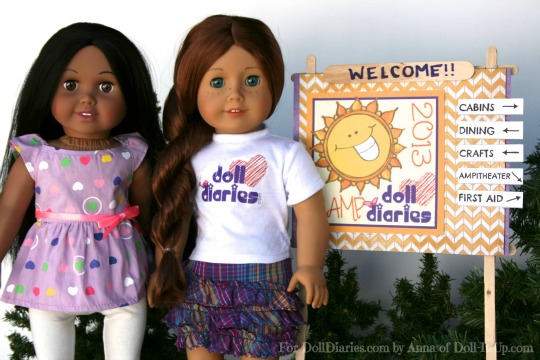
6. Doll Diaries: Camp Signs

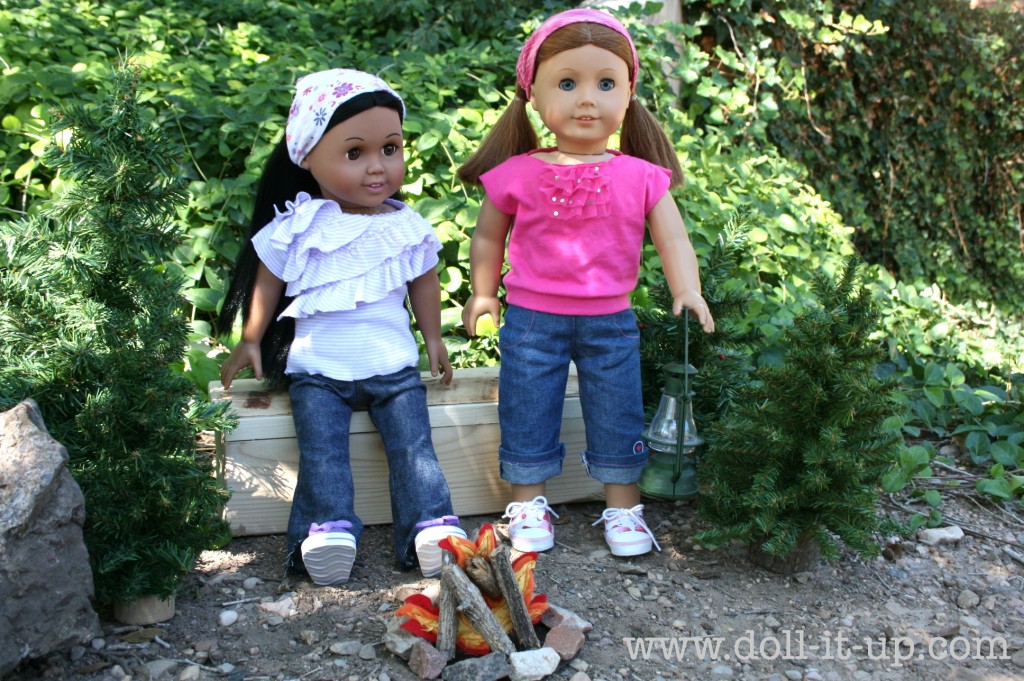
7. Doll-It-Up: Camp Fire


8. Doll Diaries: Tent Variation 
 
 9. My Froggy Stuff: Hammock

10. My Froggy Stuff: No Sew Bathing Suit


So, you getting excited for camp? I am!! Crafting time!!

Jeneca

(Psst! Do you know of any camping themed crafts for AG? Comment down below of with the link (it doesn't have to be yours) so I can add it to the list! )

Tuesday, April 30, 2013

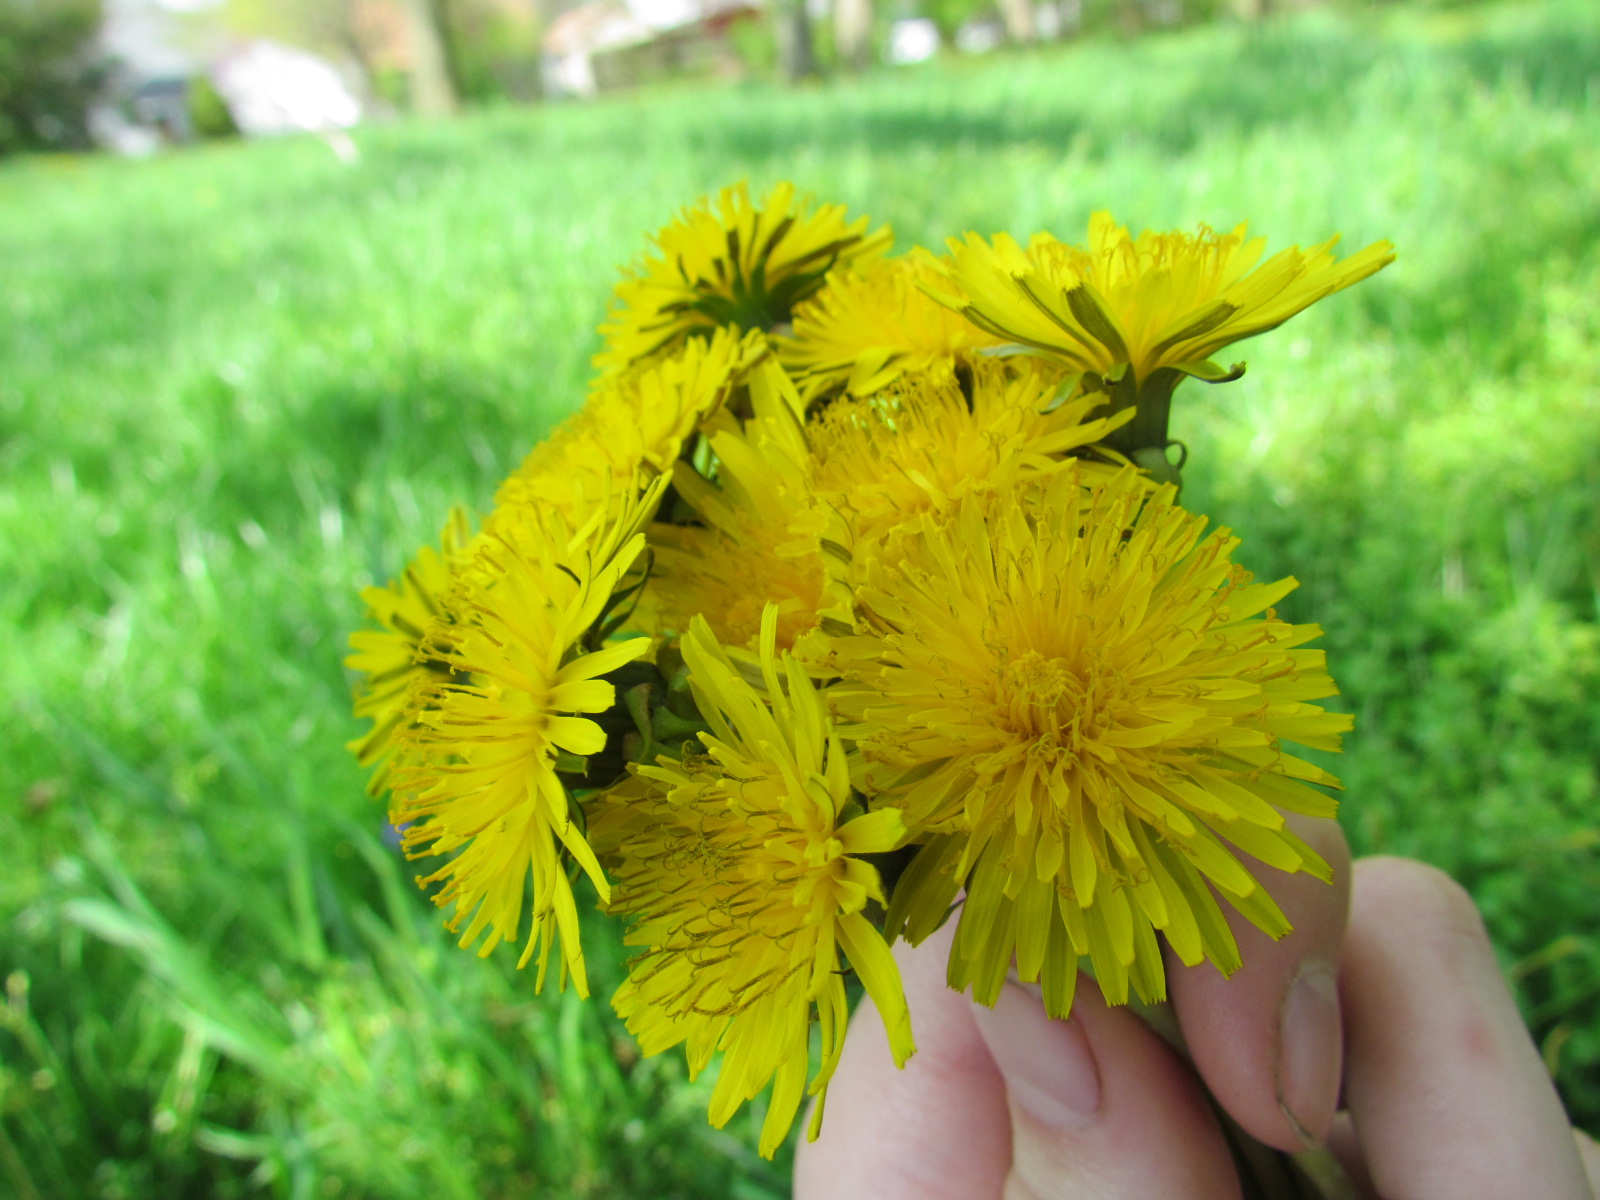
How to Make a Dandelion Crown for AG's or you!

 Hey guys! It's SUCH a nice, warm day outside, and I wanted to make an outdoor craft. What better to do than a Dandelion crown! Dandelions are bright yellow flowers that grow literally EVERYWHERE. They are considered weeds by a lot of people, but are incredibly useful ones! The whole thing is edible, the leaves for salad, frying the blossoms in batter, and the roots can be used to make dandelion coffee (please google this if you want to try, I'm not knowledgeable in every detail.
:D )
If you can pick small enough dandelions, than this "crown" can be a great accessory
(or subject) of a photoshoot. Based off the Daisy tutorial, here is my version!
 1. Collect 10 or more (the more the flowers, the thicker the crown) dandelions. Try to find the smallest ones.
 2. Take one of the dandelions, and make a slit close to the bud (if you want a crown with a lot of flowers) or mid stem (if you want a slightly thinner crown)

 3. Take another Dandelion and slid it through the hole.

 4. Clip the excess stem of the first flower, but be carefull that you you don't break it close to your slit, as that could cause the whole crown to fall apart.
 5. With the second Dandelion, make another slit and repeat steps 2-4 until you've used all of your flowers.
6. After all the flowers are used, set the chain on your dolls head, and check to see that it's the right size. Take flowers out if it's too big, and add more if its too short. Once the size is right, slit another hole in the very first flower, and line up the last slit with the first, and push another dandelion through. This should keep it connected.

There you go! You could even experiment with different types of flowers, such has violets, daisies, etc. If you do try it, comment a link to the picture or post so I could see it! That would be awesome.  Have a great day :3
-Jeneca
(Psst!! Bonus pictures!)


Saturday, April 27, 2013

Doll Craft: Simple Doll Notebook!

Hiya! Today I have a craft, a simple one. It's how to make a doll workbook, notebook, anything of that sort.
 
 Supplies:
  • Stapler (preferably a larger one than I have pictured, haha)
  • Scissors
  • Any Color of Cardstock 
  • Lined index cards
 1. Line up your index card on the paper, and cut it out in the same shape, only slightly larger. (see next picture.)
2. Once you've cut it out, center index card in the card stock, which will be your front cover.
 3. Carefully fold it in half, and carefully unfold it.
 4. Slid the paper in between your stapler, and try to staple it on the fold, one closer to the top, and one closer to the bottom.
Once you're done, they can be about made into anything! School books, journals, maybe a project book, scrap book, script for a play, the possibilites are endless! ;)